|
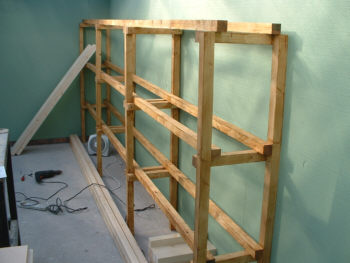
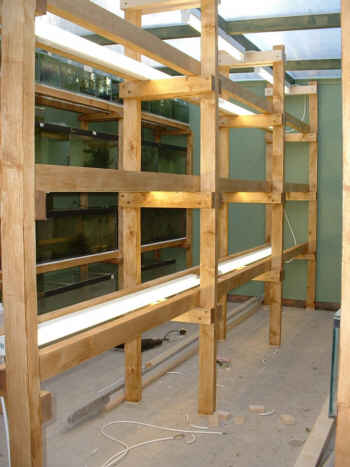
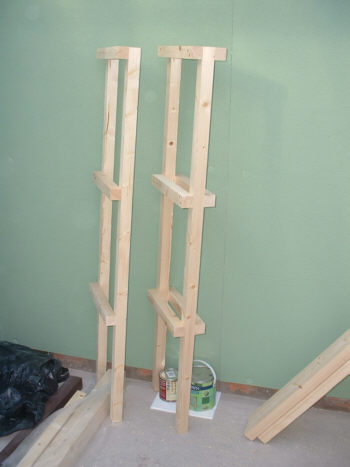
First stand up & varnished. Note the open top layer. This gives an extra tank over 3 bays. |
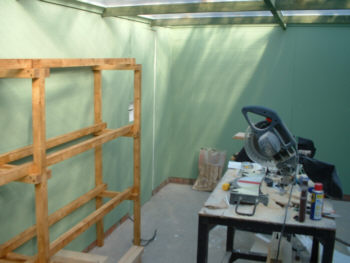
Viewed towards the door. Note the gap between the stand & door. This will be a packing area & somewhere to put the microscope. |
|
Note the daylight coming
through. The fish house was designed for maximum light exposure. |
 |
|
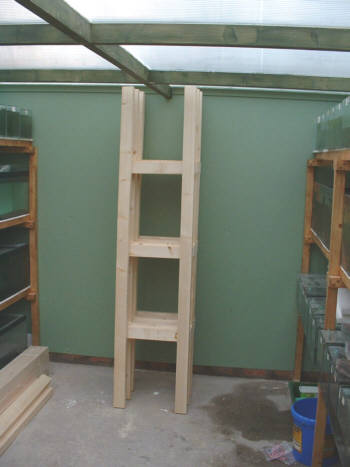
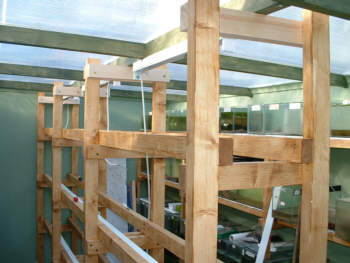
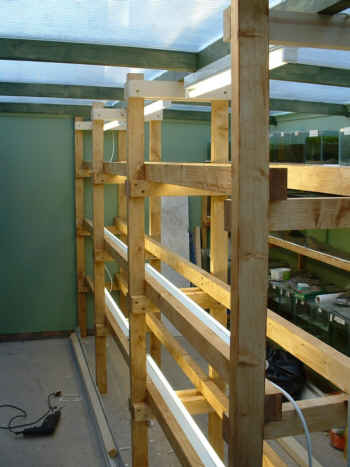
Centre stand towers constructed. These are 18" wide & required a stronger stand made from planed 3 x 2". |
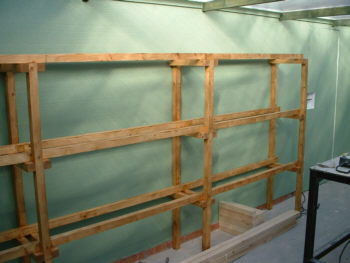
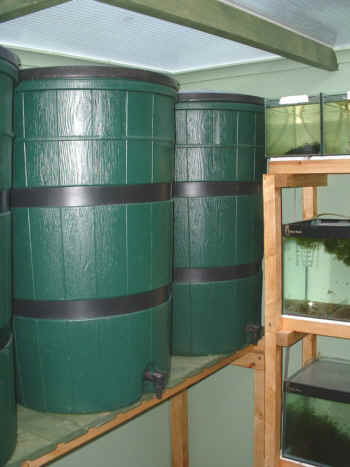
Fresh water stand completed. This will feed the bottom 3 layers of tanks by gravity. Eventually these tanks will be replaced with drilled base tanks & 75% of the fish house will be water changed by the flick of a tap. |
|
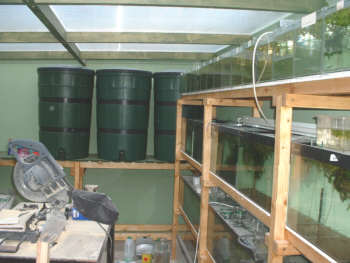
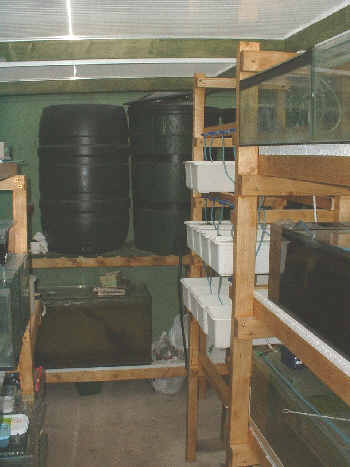
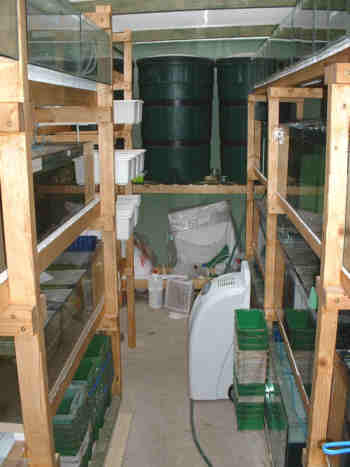
Fresh water stand at far end. Two large 70 gallon tanks to be put on bottom row. |
At this stage the fish house resembles a cross between a building site & somewhere to keep fish. Note brine shrimp hatchers on the floor & temporary striplights set up over the tanks |
|
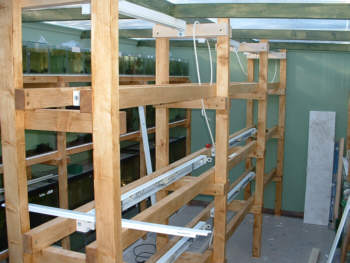
Centre stand during wiring up |
Centre stand during wiring up |
|
Wired up & ready to go. Note stand supporting roof centre. Whilst a foot of snow is unlikely I had in mind walking on the roof to clean it up & replace plastic fixtures which do perish. |
Note striplight position. Tanks will be drilled for drainage. Pipes will pass through the centre of the stand. |
|
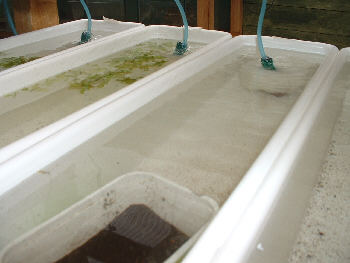
Fry tub stand tagged onto the centre stand. |
Fry tubs. These are wallpaper
roll soaking tubs from B&Q. The plastic is safe for fry & they
hold one gallon. |
|
Fry stand shown tagged onto centre stand. |
Stand from other side showing dehumidifier which takes out about half a gallon per day. |